Search This Blog

Tuesday, October 15, 2013

Bridgeport Update DRO

So I have a Bridgeport milling machine, it was made in 1941 making it 73 years old.  The table show abuse, but its flat within .001 across the 42 inch surface.  The spindle runout is less than .001 I only have an indicator that reads in thousandths. Still need to adjust the gibs and adjust the acme nuts to get the backlash down.

The only bad thing for me is that it is missing alot of parts for the spindle auto feed, and it will be expensive to fix but a necessity.

So I ordered a DroPros DRO system 2 weeks ago and finished installing it last week, Ive played with it a little but havent made many chips yet.  I also ordered a Kurt Vise on ebay, nut Kurt Style but an authentic Kurt.

Ive done one thing with the mill so far that was a first for me, but sadly I have no pictures.  My brother had a moped cylinder head that needed to be shaved, he asked me to take .020 off the top, so I did.  He put it back on the moped, and all seams to be good.


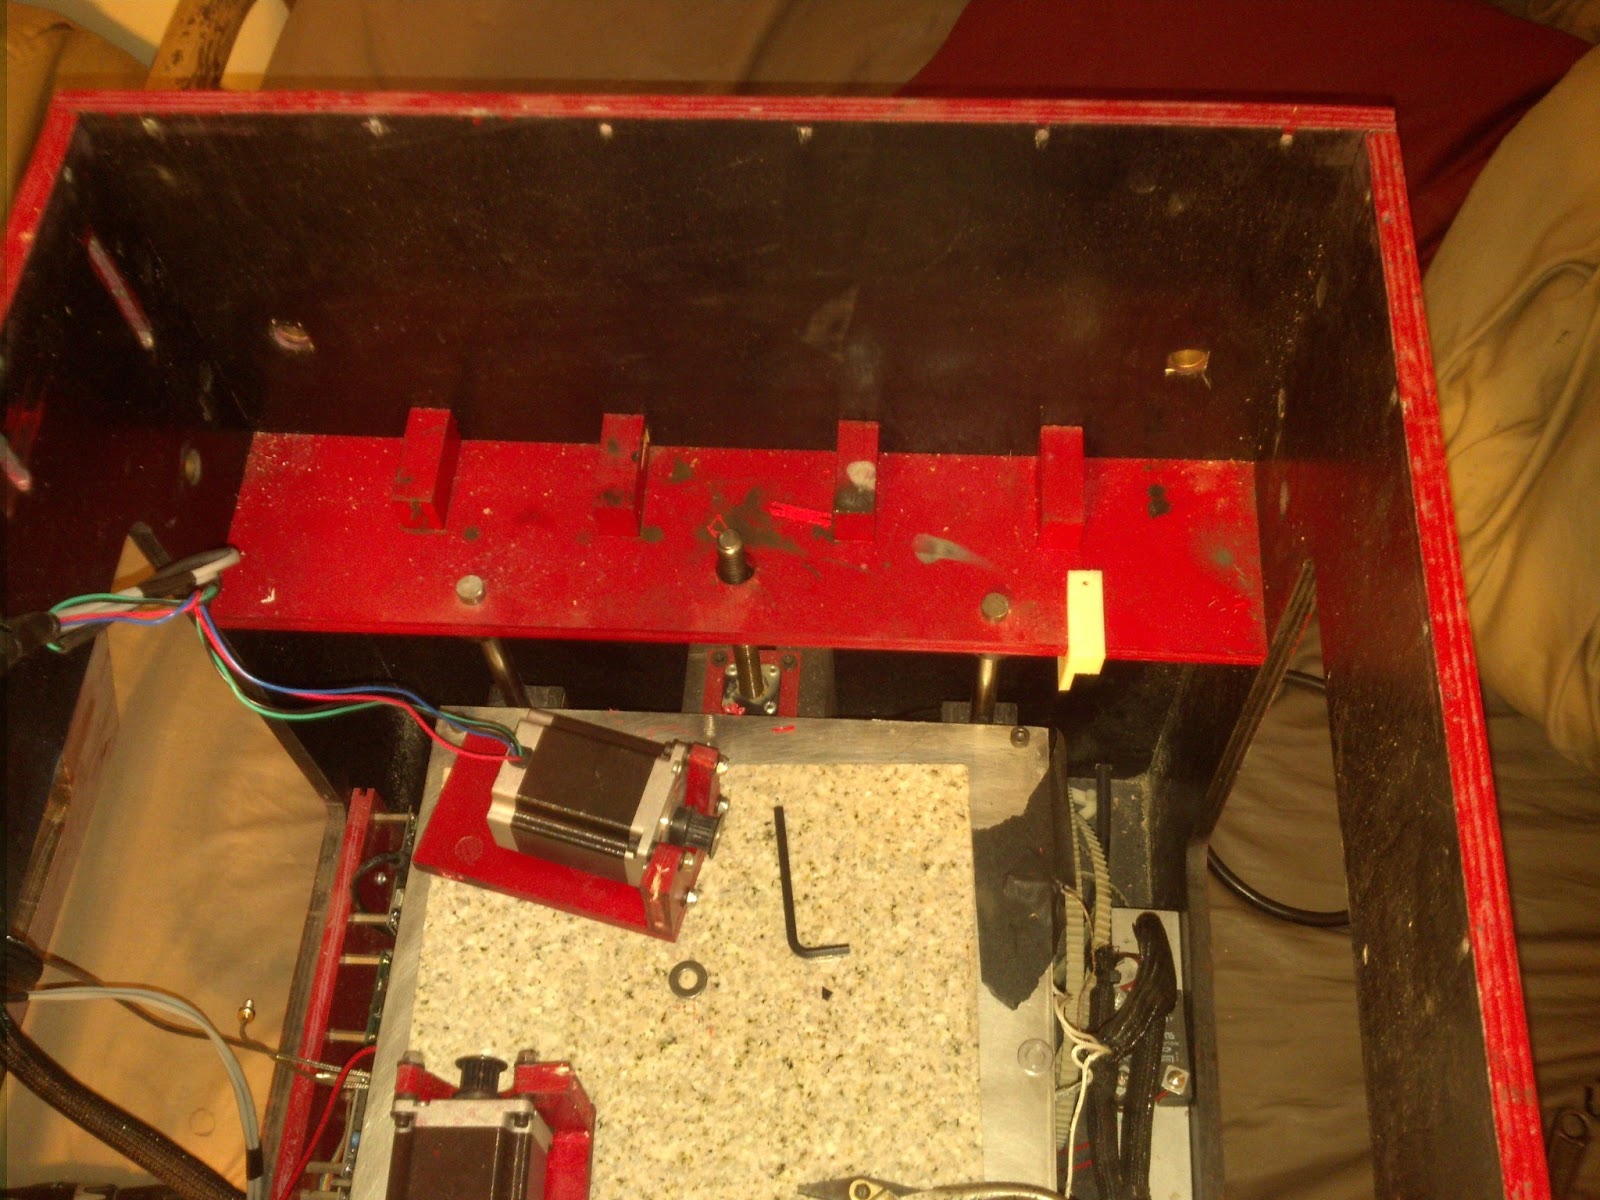
Now for a picture, the following picture is before the Z axis slide was installed and before the wires were tidied up.

Wednesday, September 25, 2013

New Tool!

So just recently I picked up a new tool for incredibly cheap.  The tool is a Bridgeport mill manufactured in 1941.  The mill itself is in decent shape and is missing a few parts, but is semi functional as is.  I purchased this mill from a friend (I didnt even know he had it) and was told it came off of the USS North Carolina Battleship.  I do not know if thats true it just makes it that much more awesome.

Here is a picture of the machine as it sat before any cleaning/work, but in my garage.

Once I make some repairs and clean her up there is a good chance I will post more pictures.

Tuesday, August 27, 2013

Overhang Tip

So last night I finally finished reassembling my printer.  Im not satisfied with some changes, and they will be changed again but that is for another post.

So for my printers first of many first prints I decided to print the Colassal Bust of Ramesses.  The new cooling setup has reduced curling completely.  But when the print was nearing his "beard" I didnt want the printer to print in mid air.

So here is what I did: I folded a piece of painters tape in half, I then stuck it to the part where the support was needed with the seem at the current printing location.  Pictures below.


As you can see for this small simple overhang a piece of masking tape added all of the support needed.

The print is not finished, as it was getting late, so I paused the print, and shut the printer off.  Im hoping that when I restart the printer and resume the print it will resume correctly.  I will update on the results.

Tuesday, July 30, 2013

Link Sharing

Past couple of weeks i've seen a couple of links that others may like to know about, or may already know about.

MIDI to Gcode web app:  http://en.homeconstructor.de/converter-convert-music-in-g-code.html
This link takes you to a web app that converts your MIDI files into gcode, and in my opinion is a lot easier to use than the python program that does the same (mainly because i cant get the python one to work.)

Monoprice.com sells 3d printer filament! http://www.monoprice.com/products/subdepartment.asp?c_id=107&cp_id=10724
3 colors in 3mm and 1.75mm.  They do not mention the tolerances of the filament though.  Has anyone tried this?

These two links may be old news to some, but some may find them new and useful.

Sunday, July 14, 2013

Reassembly


New extruder carriage with Lulzbot Budaschnozzle.

Old parts, cast extruder carriage, and wooden X and Y carriages.

Disassembly.

Reassembly, no belts installed at this point.  Also the X and Y carriages are just slightly to long, Im hoping a quick trip to the belt sander will fix that issue.

At this time I have the belts installed. I still have to sand a little from the rear carriage, tighten up the set screws on the pulleys.

After a little more time I will run some gcode without the extruder hooked up just to break in the bearings.

Monday, July 8, 2013

XY Changes Incoming

Recently I have been experimenting with higher speed prints, currently I can print reliably around 50-65 mm/s and travel at 125 mm/s.  I want to double that for quick prints, maybe more than double it.  Currently I am running linear ball bearings on the extruder carriage, and brass bushings on the X and Y carriages.

I have designed and printed all new parts for all moving parts, I have also moved to 12mm aluminum linear rod for the moving rods.  The X and Y carriages will be using freon lined linear bearings (I had them) and the  extruder carriage will be using Igus J-glide plastic bearings.  All ball bearings are out of the question due to weight.  Eventually I will upgrade the X and Y carriages to Igus J-Glide as well.

The current carriage with extruder weighs in excess of a pound, counting all other moving parts on the XY cartesian system is probably close to 4 pounds, its heavy.

The new printed carriages and aluminum linear rods should bring me to around a pound.

The only part keeping me from assembly is the tubing connector to attach my Bowden extruder up to it.  Assembly should happen within the next week.

Now for some 3d shots taken from Inventor, and a picture of the printed components.

The X and Y carriages in this pic have stainless 1/4-20 SHCS, when I make my next McMaster order they will be replaced with Nylon set screws.  Also the PLA itself was carefully tapped for the threads, I believe I used 4 perimeters on these.


Friday, June 21, 2013

My printer is almost to where I would like it to be, I have some potential firmware issues that I hope to get rid of by upgrading to new hardware that is actively being supported.

Most recently I designed a phone case for my Motorola Razr because I was getting bored with my current case.

The fit is perfect, and the build quality is ok.  I have shared this file on Thingiverse as well: http://www.thingiverse.com/thing:1071440

I'm currently revising the cartesian system to lose weight from all the moving parts.  Currently i'm printing at 80-100 mm/s with travel moves at 135 mm/s Id like to push 150/200 mm/s respectively.

Ill try to update again soon, Thanks for visiting.

-Jeff